Leaking windows are more than an annoyance for many homeowners in England. Hidden moisture can quietly undermine your home’s comfort, increase energy costs, and damage property value. Locating the true source of leakage is often more complicated than spotting obvious cracks. This guide uncovers the most effective ways to diagnose and fix persistent window leaks with clear, practical steps suited to British homes.
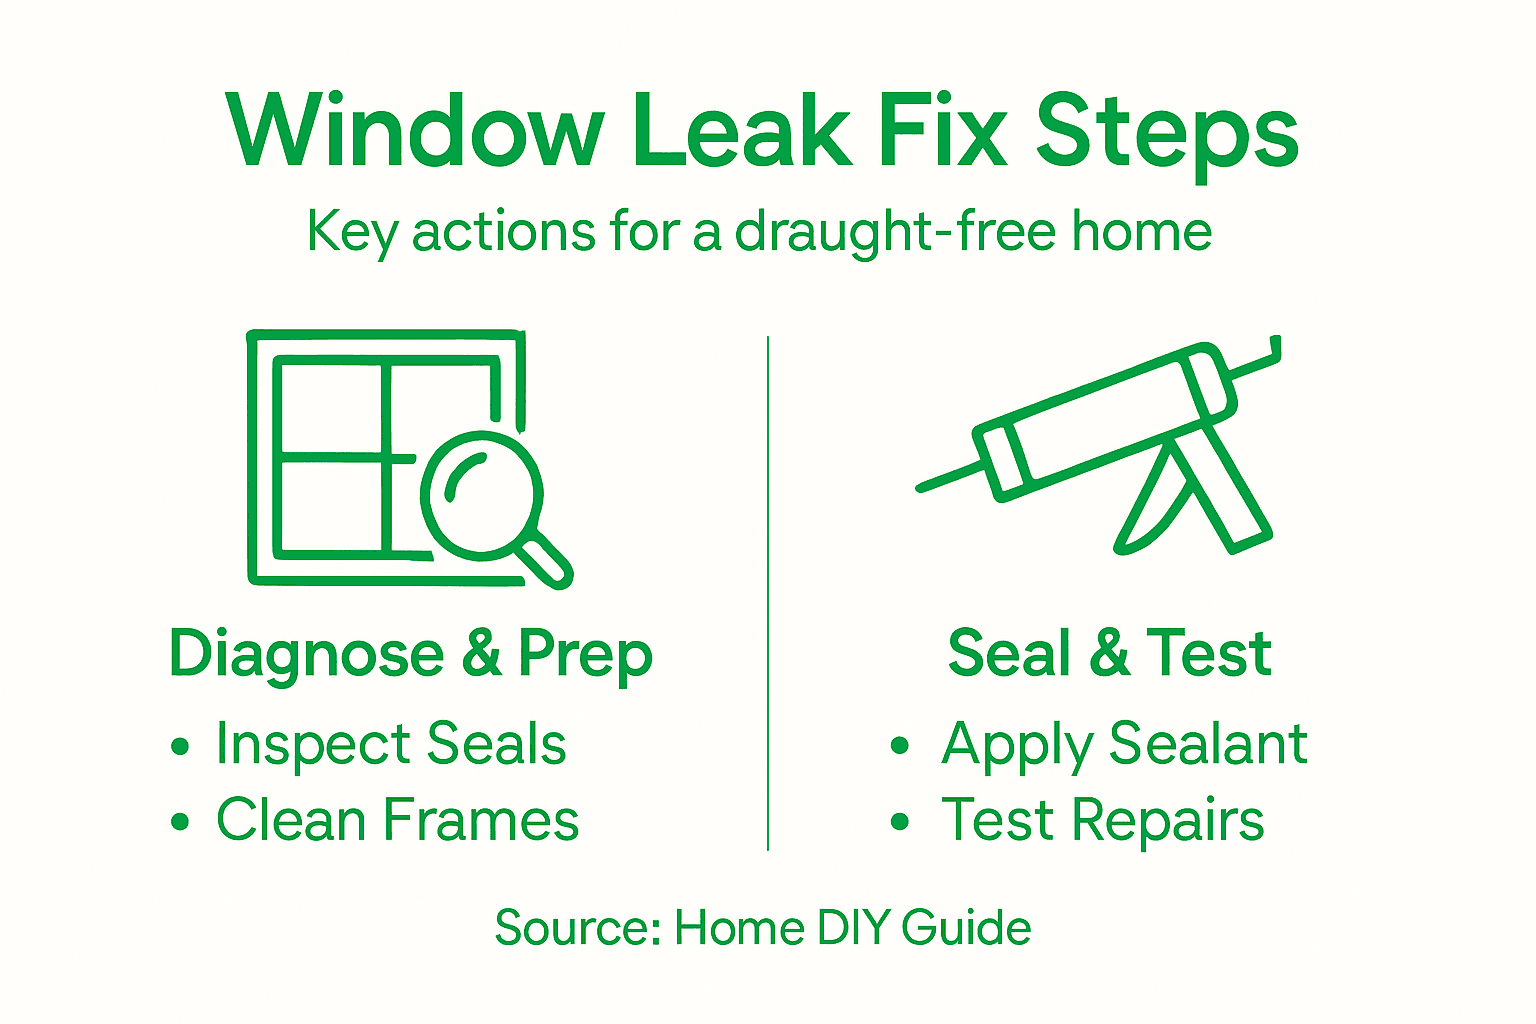
Step 1: Diagnose window leak sources
Finding where water is actually entering your home is the first critical step. Many homeowners assume leaks come from obvious cracks, but the truth is more complex. Water can travel along frames, sills, and seals before pooling in unexpected places.
Start by examining the interior window sill during or after rain. Look for wet patches, discolouration, or soft wood that feels spongy when you press it. Check the corners and edges where the frame meets the wall, as these are common weak points.
Next, inspect the exterior condition carefully.
- Look for visible cracks in the frame or glass
- Check if the sealant around the frame is cracked, peeling, or missing entirely
- Examine the cill (the external sill) for blockages or damage
- Feel along rubber seals for hardening or gaps
- Look for common window and door faults that might explain persistent moisture problems
Water damage tells a story. Staining on walls below windows, paint bubbling, or mould growth all point to active leaks. Pay attention to which direction the stains travel, as water rarely falls straight down. The source of a leak is often several inches away from where you see water pooling inside. Trace the path backwards by following wet marks and damp patches.
On dry days, you can also perform a simple water test. Pour water slowly along the exterior frame and seals while watching inside for drips. This reveals exactly where water penetrates.
Here’s a summary of possible leak sources and their typical indications:
| Suspected Leak Source | Typical Signs Indoors | Typical Signs Outdoors |
|---|---|---|
| Window frame joints | Damp or softened plaster | Cracked or peeling sealant |
| Sill or cill | Spongy wood, discolouration | Blockages, green algae growth |
| Rubber or silicone seals | Mould near corners | Hardened or missing seal sections |
| Wall-frame connection | Paint bubbling, damp stains | Gaps at wall junction |
Pro tip: Use a moisture meter (available from most hardware shops for under £20) to identify damp areas in frames before visible damage appears—catching problems early saves pounds in repairs.
Step 2: Prepare windows and gather proper materials
Before you start any repair work, you need the right tools and materials on hand. Proper preparation saves time and frustration, and ensures you can complete the job without multiple trips to the shops.
Begin by clearing the work area. Remove curtains, blinds, and furniture away from the windows. This gives you full access and protects your belongings from water and dust. Open windows fully so you can reach both the interior and exterior comfortably.
Gather these essential materials for most leak repairs:
- Silicone sealant (100 percent silicone works best for window frames)
- A sealant gun for smooth, controlled application
- Caulking tool or plastic spatula for smoothing the sealant
- Clean cloths or paper towels for wiping excess sealant
- Masking tape to create clean edges
- Wire brush or old toothbrush for removing old, loose sealant
- Rubbing alcohol or white spirit for cleaning surfaces
- Safety glasses and disposable gloves
You’ll also need to assess your specific window type, as different materials require slightly different approaches. Understanding different types of window materials helps you choose the right sealant and repair method. Quality silicone sealant is worth the extra cost. Cheap alternatives often fail within months and create more work later.
Before starting, clean the affected area thoroughly. Remove old, crumbling sealant with a wire brush, then wipe the surface with rubbing alcohol on a cloth. Allow it to dry completely before applying new sealant. A dry surface ensures the sealant adheres properly and forms a waterproof bond.
Check your weather forecast. You’ll need at least 24 hours of dry conditions for sealant to cure properly. Applying sealant during rain or high humidity compromises the seal.
Pro tip: Buy sealant from a specialist builder’s merchant rather than general hardware shops—they stock professional-grade products and staff can advise on the best option for your specific window frames.
Step 3: Seal gaps and apply appropriate repairs
Now you’re ready to apply the repair. This is where you seal the gaps and create a waterproof barrier that stops leaks from returning. The key is applying sealant correctly and allowing sufficient curing time.
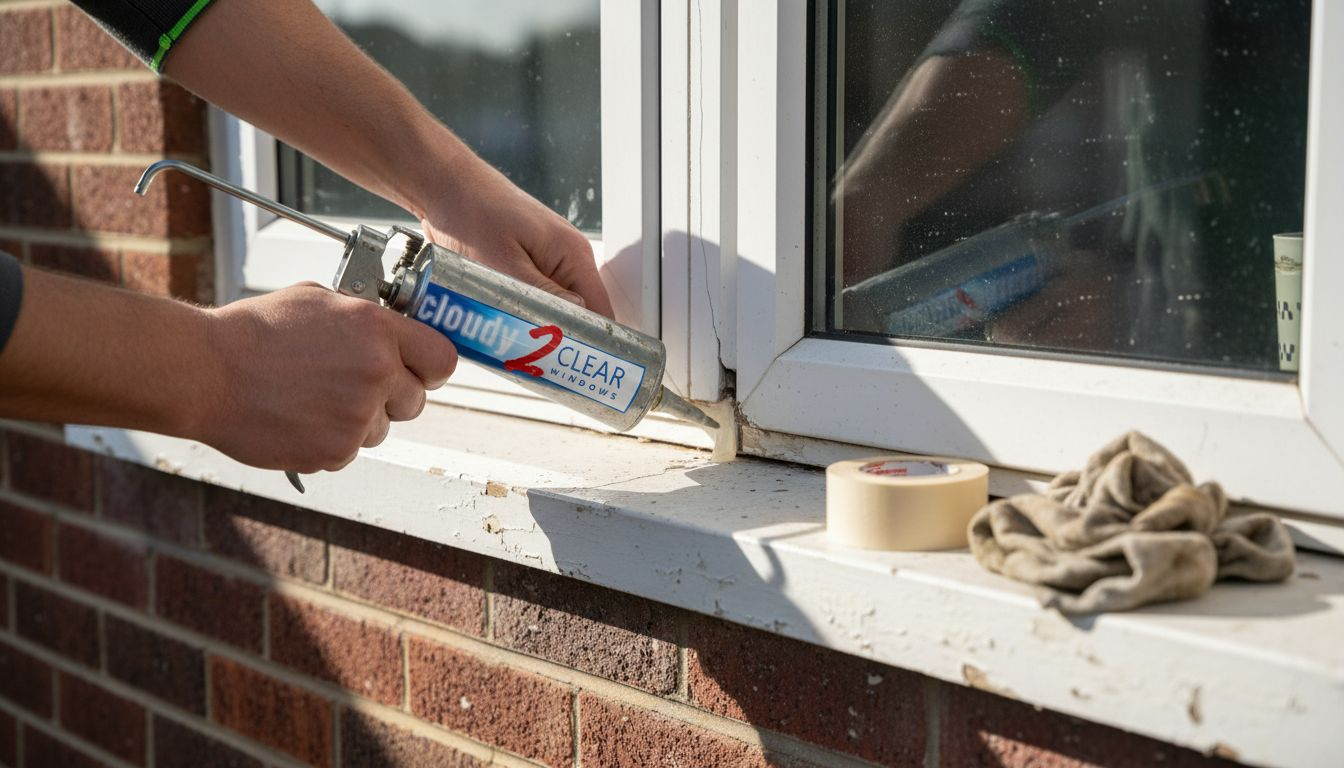
Start by applying masking tape on both sides of the gap you’re sealing. Place it about 6 millimetres away from the crack or joint. This creates clean, professional edges and makes cleanup easier. Tape protects the surrounding area from accidental sealant smears.
Load your sealant into the gun and cut the nozzle at a 45-degree angle. Practice on a scrap surface first if you’ve never used a sealant gun before. Position the nozzle into the gap and apply steady, continuous pressure as you move along the crack. The sealant should fill the entire gap without gaps or air pockets.
Use your caulking tool or plastic spatula to smooth the sealant immediately after application. Work in one smooth motion to create an even surface. This helps the sealant bond properly and improves the waterproof seal.
For some window issues, you may find that repairing failed double glazing requires more than sealant alone. If moisture is trapped between panes or the seal has completely failed, professional replacement may be your best option.
Compare different window repair approaches and when to use them:
| Method | Suitable For | Advantages | Limitations |
|---|---|---|---|
| Sealant application | Small cracks, minor gaps | Quick, low cost | Not for major damage |
| Double glazing repair | Moisture between panes | Restores insulation | Needs professional service |
| Full frame replacement | Severe wood rot, structural failure | Long-lasting solution | High expense, disruptive |
Never skip the curing time. Sealant needs at least 24 hours before exposed to water, even light rain or condensation.
Remove masking tape while the sealant is still slightly tacky, usually within 15 to 30 minutes. This prevents the tape from tearing the cured sealant. Keep the area dry during the full curing period—close windows and avoid rain.
Pro tip: Apply sealant in warm, dry conditions between 5°C and 25°C if possible. Cold temperatures slow curing dramatically, whilst extreme heat can cause the sealant to set too quickly and crack.
Step 4: Test windows for effective leak prevention
Once your repairs have cured fully, it’s time to verify they actually work. Testing confirms your sealant has sealed properly and your windows are now protected from water ingress. This step gives you confidence in your repair work.
Wait a minimum of 24 hours after applying sealant before testing. The sealant needs this time to cure completely and bond with the frame. Testing too early can compromise the seal you’ve just created.
Perform a visual inspection first. Look at the sealant you applied—it should be smooth, continuous, and free from cracks or gaps. Check that it’s fully adhered to both sides of the joint. Run your finger along it gently to feel for any irregularities.
Next, conduct a water test during dry weather. Pour water slowly along the exterior frame and seals you’ve repaired whilst watching the interior closely. Look for any drips, seepage, or moisture appearing inside. If water gets through, you’ve identified an area needing additional sealant.
Here are the key areas to test thoroughly:
- Bottom corners where the frame meets the sill
- Along the entire length of frame seals
- Around any cracks or joints you’ve repaired
- Where the frame connects to the wall
- Along the sill where water naturally pools
Waiting for natural rain provides the best long-term test. Monitor your windows during the next rainfall to see if any dampness appears inside. This real-world test reveals problems that controlled water tests might miss.
Proper leak prevention also involves understanding draught proofing your windows, which addresses both moisture and thermal efficiency in your home. A successful repair stays dry for weeks and months, not just the first few days. Keep observing your windows through different seasons.
If water still appears during testing, don’t panic. You’ve identified exactly where the leak persists. Apply additional sealant to that specific area and repeat testing after 24 hours.
Pro tip: Paint over dried sealant with exterior-grade paint matching your frame colour. This protects the sealant from UV damage, which can cause it to degrade and crack within a few years.
Protect Your Home from Window Leaks with Expert Help
If you are struggling with persistent window leaks and worrying about damp patches or spongy wood as highlighted in our guide on how to fix window leaks for a draught-free home you are not alone. Leaks can cause lasting damage and disrupt your comfort but you do not have to face these challenges alone. At Cloudy2Clear Windows we combine decades of experience with quality materials and professional repair techniques to ensure your windows stay sealed and your home stays warm and dry.

Do not wait until minor cracks turn into costly repairs. Benefit from our expert installation and double glazing repair services which go beyond simple sealant fixes. Visit our Cloudy2Clear Windows homepage now and discover how a trusted partner can help you achieve a draught-proof and leak-free home. Restore your peace of mind today with clear answers and reliable solutions for your windows. Learn more about our approach and see why thousands trust us to uplift their homes at Cloudy2Clear Windows.
Frequently Asked Questions
How can I diagnose the source of a window leak?
To diagnose the source of a window leak, start by inspecting the interior window sill for damp patches or discolouration, especially after rain. Examine the frame’s joints and seals for cracks or gaps, and perform a water test to pinpoint where water might be entering.
What materials do I need to fix window leaks effectively?
You will need silicone sealant, a sealant gun, a caulking tool, clean cloths, and masking tape. Gather these materials before starting your repairs to ensure you can complete the work without interruptions.
What steps should I follow to apply sealant to fix a window leak?
To apply sealant, first, clean the affected area and remove any old sealant. Then, load the sealant into the gun, apply it steadily along the gap, and smooth it out with a caulking tool. Always remove masking tape while the sealant is slightly tacky to maintain clean edges.
How do I test if my window repairs have been successful?
After letting the sealant cure for at least 24 hours, perform a visual inspection to look for any cracks or gaps. Then, conduct a water test by pouring water along the exterior frame and checking for any leaks inside.
What should I do if water still leaks after I have sealed the windows?
If water still leaks after sealing, identify the exact area where it is coming through and apply additional sealant to that specific spot. Repeat the testing process after 24 hours to ensure the new application has resolved the leak.
How can I maintain my windows to prevent future leaks?
To maintain your windows, regularly check for signs of wear around the seals and frames, and clean any debris that may block drainage. Consider applying exterior-grade paint over dried sealant to protect it from UV damage, as this can prolong its life significantly.
Recommended
- Draught Proofing Windows: Simple Ways to Keep Your Home Warmer
- Common Window And Door Faults To Watch For – Cloudy2Clear Windows
- Top tips: How to improve ventilation in your home this summer – Cloudy2Clear Windows
- How to Prevent Damp in Your Bathroom – Cloudy2Clear Windows
- Master Solar Energy Consumption Optimization for Homes