Knowing how to maintain window seals is one of the most cost-effective things you can do for your home. A neglected seal does more damage than most homeowners realise. Research shows that a tiny 1/16-inch gap around a window frame allows as much cold air in as a 3-inch open window. That translates directly into higher energy bills, persistent draughts, and the kind of condensation that quietly encourages mould. The good news is that most seal maintenance is straightforward, predictable, and well within the reach of any motivated homeowner or property manager.
How to maintain window seals: know what you are working with
Before you pick up a caulk gun, you need to understand which type of seal you are dealing with. Each one fails differently and needs a different approach.
| Seal type | Location | Function | Maintenance method |
|---|---|---|---|
| Caulk seal | Frame meets wall | Fills stationary gaps | Remove and reapply sealant |
| Weatherstripping | Moving sashes and tracks | Seals operable window parts | Clean and replace strips |
| Insulated glass unit (IGU) seal | Between double or triple glazed panes | Prevents moisture ingress between panes | Professional replacement required |
The golden rule here is straightforward: use caulk for stationary gaps and weatherstripping for any part of the window that moves. Getting this wrong causes real problems. Caulk applied to a moving sash will bind the window shut or crack almost immediately. Weatherstripping on a fixed frame will leave gaps because it is not designed to fill static joints.
The third type, the IGU seal, is the one most homeowners overlook entirely. This is the factory-sealed bond between the panes of glass in a double glazed unit. You cannot repair it yourself. When it fails, professional replacement is the only lasting fix, and understanding that distinction saves you from wasting time and money on DIY attempts that will not work.
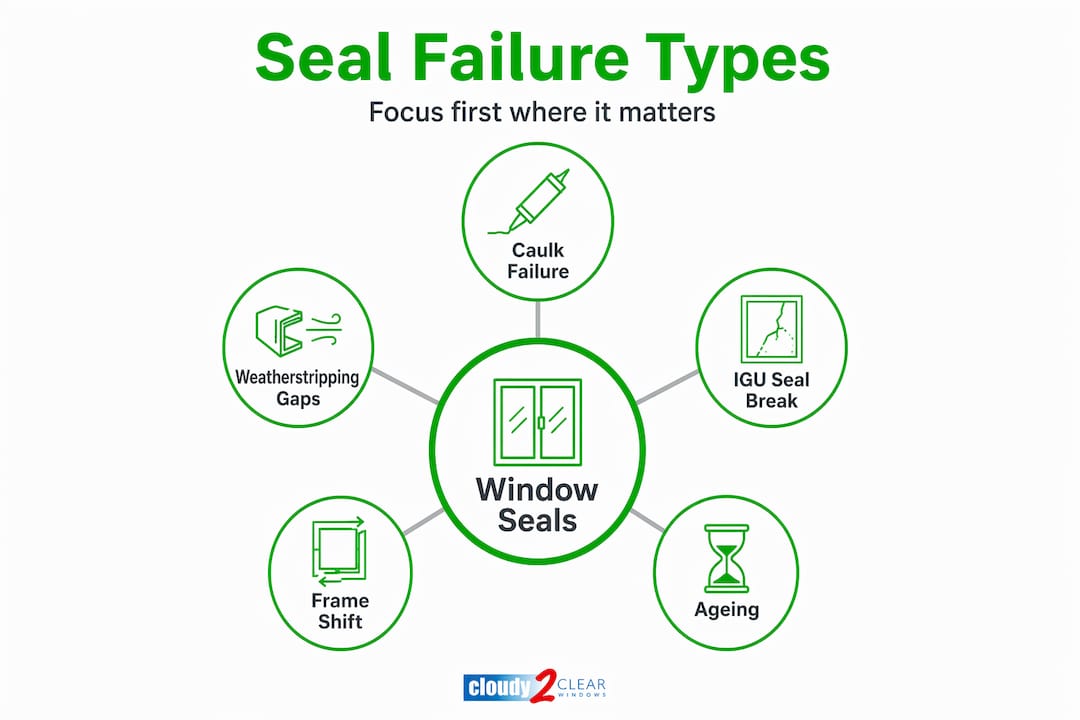
Knowing the five types of seal failures and their typical lifespans helps you prioritise where to focus your efforts first.
Tools and preparation: getting it right before you start
Good preparation separates a seal that lasts five years from one that peels off within a season. The right timing matters as much as the right materials.
What you will need
- Caulk gun and silicone or siliconised latex caulk (exterior grade)
- Utility knife and putty knife for removing old sealant
- Weatherstripping material suited to your window type (foam, V-strip, or rubber)
- Isopropyl alcohol or a dedicated surface cleaner
- Painter’s tape for neat lines
- Foam backer rod for gaps larger than 6mm
- Gloves and safety glasses
| Item | Purpose | Approx. cost |
|---|---|---|
| Silicone caulk (exterior) | Sealing fixed frame gaps | £4 to £10 per tube |
| Weatherstripping (self-adhesive foam) | Sealing moving window parts | £5 to £15 per roll |
| Caulk gun | Even application of sealant | £6 to £20 |
| Foam backer rod | Filling large gaps before caulking | £3 to £8 per pack |
| Putty/utility knife | Removing old sealant cleanly | £3 to £10 |
Timing is genuinely important. Schedule your inspection and any re-caulking every 18 to 24 months, ideally in early autumn before the heating season begins. Spring works well too, once temperatures are reliably mild.
Temperature is not a trivial detail. Most exterior caulks need temperatures above 4°C to bond correctly. Applying sealant in freezing or damp conditions leads to poor adhesion and early failure. Check the weather forecast and pick a dry day with stable mild temperatures.
Pro Tip: Run your hand along each window frame on a cold, windy day. You will feel any draught far more clearly than you would in still conditions, making it much easier to pinpoint exactly where the seal has broken down.
Step-by-step maintenance guide
This is where the practical work happens. Follow these steps in order and you will get a clean, durable result.
- Inspect every seal carefully. Look for cracked, shrinking, or missing caulk along the frame where it meets the wall. Check weatherstripping for compression, tears, or sections that have pulled away from the frame. Understanding common signs of failure early prevents small problems from becoming large ones.
- Remove all old caulk. Use your utility knife to score along the edges of the old sealant, then work the putty knife underneath to lift it free. Do not rush this stage. Applying new caulk over old residue without full removal leads to quick failure. The new sealant simply cannot bond through the degraded layer beneath it.
- Clean the surface thoroughly. Wipe the area with isopropyl alcohol or a surface cleaner and allow it to dry completely. Any moisture, grease, or dust will prevent the new caulk from adhering properly. This step is where many DIY repairs go wrong because it feels like preparation rather than the actual job. It is just as important as the caulk itself. For guidance on keeping frames clean as part of your ongoing routine, professional window cleaning advice is worth reviewing.
- Apply painter’s tape on both sides. This keeps your bead neat and protects the frame and wall finish. A tidy line is not just cosmetic. It tells you the caulk has been applied consistently, which matters for performance.
- Load and apply caulk in a single continuous bead. Hold the gun at a 45-degree angle and maintain steady pressure as you move along the joint. Aim for a bead roughly 6mm wide. Do not stop and restart mid-run if you can avoid it, as joins in the bead are weak points.
- Tool the bead smooth. Use a damp fingertip or a caulk smoothing tool to press the sealant into the joint and create a slightly concave profile. This improves both adhesion and water runoff. Remove the painter’s tape before the caulk skins over.
- Replace weatherstripping on moving parts. Remove the old strip, clean the channel or surface, and cut your new weatherstripping to length. Press it firmly into place, working from one end to the other without stretching it. Choosing the right material depends on your window style, the size of the gap, and how frequently the window is used.
Pro Tip: Never block weep holes when caulking. These small slots at the bottom of the frame are designed to drain any water that enters the frame channel. Sealing them traps moisture inside and leads to rot and structural damage over time.
Troubleshooting: condensation, large gaps, and seasonal fixes
Not every problem you encounter will be a simple caulk replacement. Some issues need a slightly different approach.
Condensation: surface or between the panes?
This distinction matters enormously. Condensation on the inside or outside surface of your glass is a ventilation and humidity issue, not a seal failure. Maintaining indoor humidity between 30 and 50% during the heating season prevents most surface condensation. A basic hygrometer costs under £20 and gives you a clear reading.
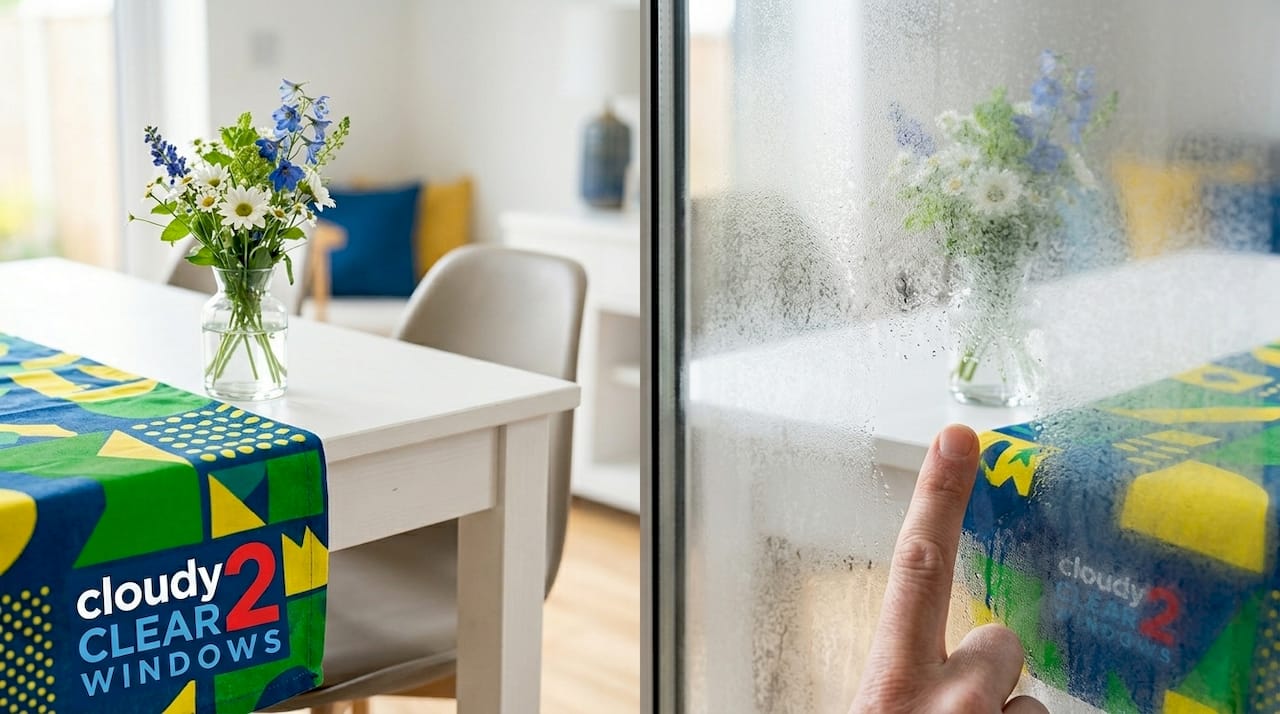
Condensation appearing between the panes is a completely different matter. That foggy appearance between panes means the IGU seal has failed and the inert gas fill has been replaced by moist air. You cannot fix this with caulk or weatherstripping. The glass unit needs professional replacement.
“Surface condensation is a home environment problem. Inter-pane condensation is a glazing problem. Treating them the same way wastes time and money.”
Large gaps and supplementary fixes
- For gaps larger than 6mm, fit a foam backer rod into the gap before caulking. Backer rod creates a flexible backing that supports the caulk and prevents it from cracking under movement.
- Low-expansion spray foam applied carefully behind internal trim can fill rough structural gaps without affecting window operation. This works well around older frames where the original installation left large voids.
- Seasonal window insulation film kits add a secondary barrier in winter. They are not a substitute for proper seal maintenance but they make a noticeable difference to comfort in older properties.
- Thermal curtains with a close fit to the wall reduce heat loss significantly during cold months.
For a complete guide to sealing against draughts, the fix window leaks guide covers both DIY and professional approaches in detail.
My honest take on window seal maintenance
Having worked with homeowners across the country for nearly two decades, I have seen the same pattern repeat itself. People wait until there is visible damage, a mould patch, or an energy bill that genuinely shocks them. By that point, what could have been a £15 tube of caulk and an afternoon becomes a much more involved repair.
The most common mistake I see is treating all seals as identical. Someone applies exterior caulk to the moving sash of a casement window, the window binds within weeks, and they conclude that caulk “does not work.” It works perfectly. It was just used in the wrong place.
What I have found genuinely effective is a layered approach. Sort the caulk and weatherstripping first. Then address humidity with ventilation or a dehumidifier. Then consider supplementary measures like insulation film for north-facing windows in winter. Each layer compounds the benefit of the one before it.
The benefits of timely seal replacement are not abstract. Homeowners who maintain seals proactively report more consistent room temperatures, less condensation, and noticeably lower heating costs. That is a straightforward return on a small, regular investment of time.
— Cloudy2Clear
When to call Cloudy2Clear Windows

Some seal problems genuinely exceed DIY scope. Failed IGU seals, frames with significant rot or movement, and double glazing units with persistent inter-pane fogging all need professional attention to resolve properly.
Cloudy2Clear Windows has been repairing and replacing double glazed units since 2005, with local branches across England serving both homeowners and property managers. Whether you need a double glazing repair in Oxford, a glazing repair in Leicester or Loughborough, or expert help in Milton Keynes, the team can assess the condition of your seals, replace failed glass units, and advise on the most cost-effective route forward. Homeowners in Watford and surrounding areas can also access the same professional service. Contact your nearest branch for a no-obligation assessment.
FAQ
How often should window seals be inspected?
Inspect and re-caulk window seals every 18 to 24 months, ideally in early autumn before the heating season starts or in spring once temperatures are consistently above 4°C.
What is the difference between caulk and weatherstripping?
Caulk is used to seal fixed, stationary gaps where the window frame meets the wall. Weatherstripping seals the moving parts of a window, such as the sash or casement edge, and must allow the window to open and close freely.
Can I fix inter-pane condensation myself?
No. Condensation between the panes of a double glazed unit means the IGU seal has failed. This requires professional replacement of the glass unit and cannot be resolved with DIY caulking or resealing.
What temperature do I need to apply exterior caulk?
Most exterior caulks require temperatures above 4°C to bond correctly. Applying sealant in cold or wet conditions prevents proper adhesion and leads to early failure.
How do I stop condensation on the inside of my windows?
Surface condensation on the inside of glass is usually caused by high indoor humidity rather than a seal failure. Maintaining indoor humidity between 30 and 50% through ventilation or a dehumidifier resolves most cases.