Effective home insulation is defined as a whole-house system that combines air sealing, targeted material upgrades, and moisture control to reduce heat loss and lower energy bills. The most effective ways to improve home insulation start with sealing air leaks before adding any new material. Air sealing and insulation upgrades can reduce household heating and cooling costs by 15% to 20%. That figure represents real money back in your pocket every year. This guide covers the top methods, the best insulation materials, and the common mistakes that cost homeowners the most.
1. Seal air leaks before anything else
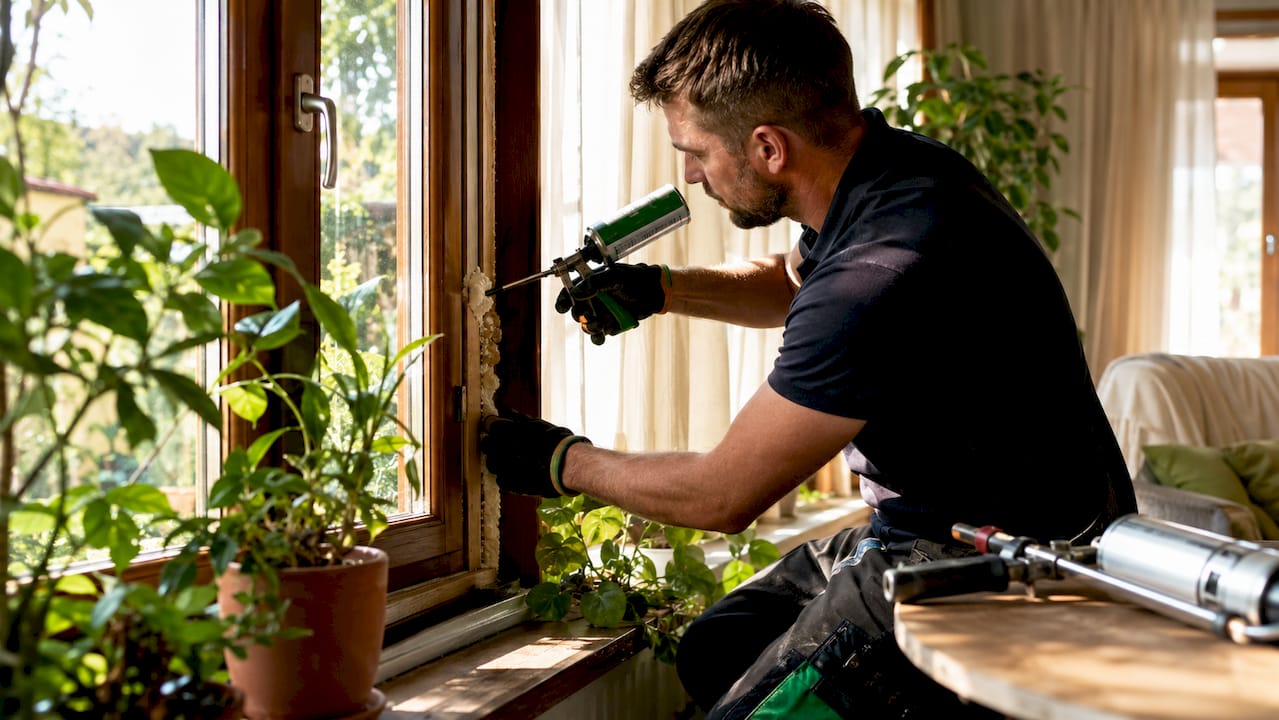
Sealing air leaks first improves your home’s thermal envelope and makes every other insulation upgrade more effective. Insulation traps air. If that air is constantly being replaced by cold draughts from outside, the insulation cannot do its job. Focus on gaps around window frames, door frames, loft hatches, pipework penetrations, and electrical sockets on external walls. Use caulk for fixed gaps and weatherstripping for moving parts like doors and opening windows. Learning how to seal draughty windows is one of the fastest ways to feel the difference.
2. Upgrade loft or attic insulation
The loft is where most homes lose the greatest proportion of heat. Attic insulation targets often reach R-49 to R-60 depending on climate zone, which is significantly higher than what most older UK homes currently have. Mineral wool rolls are the most common DIY solution and are widely available from builders’ merchants. Lay a second layer at right angles to the first to cover any gaps between joists. Check that you are not blocking eaves ventilation, as airflow prevents condensation building up in the roof space.
3. Insulate cavity walls
Cavity wall insulation is one of the highest-impact upgrades for homes built after the 1920s. A professional installer drills small holes in the external brickwork and injects loose-fill material such as blown-in mineral wool or polystyrene beads. The process takes a few hours and causes minimal disruption. Solid-wall homes require a different approach, either internal dry-lining or external wall insulation boards, both of which are more involved and benefit from professional assessment.
4. Insulate floors and crawl spaces
Suspended timber floors are a significant source of heat loss that many homeowners overlook. Rigid foam boards or mineral wool batts can be fitted between floor joists from below if you have access to a crawl space. For solid concrete floors, rigid insulation boards laid beneath a new screed or floating floor covering are the standard approach. Even laying a thick rug over a cold floor makes a measurable difference to comfort in the short term.
5. Fit an insulating jacket to your hot water cylinder
Fitting an insulating jacket to a hot water cylinder saves approximately £40 annually in energy costs. That saving pays back the cost of the jacket within weeks. A 75mm British Standard jacket is the recommended thickness. This is a straightforward DIY task that takes under 30 minutes. Pipe insulation foam sleeves on the first metre of pipework connected to the cylinder add further savings at minimal cost.
Pro Tip: Insulating pipes and attic hatches provides exceptionally high returns with minimal disruption. These are often paid back within a single heating season.
6. Add draught-proofing and weatherstripping
Draught-proofing is the most cost-effective home insulation technique available to any homeowner. Self-adhesive foam strips fit around door and window frames in minutes. Brush strips work better for the bottom of external doors where foam compresses too quickly. Keyhole covers, letterbox draught excluders, and chimney balloons for unused fireplaces all contribute to a noticeably warmer home. For a thorough approach to draught-proofing your windows, the difference is felt immediately after the work is done.
7. Repair or upgrade double glazing
Failing window seals allow warm air to escape and cold air to enter, undermining every other insulation effort in the house. A misted or cloudy pane is the clearest sign that the sealed unit has failed. Replacing the glass unit rather than the entire frame is a cost-effective fix that restores the insulating performance of the window. Understanding how windows impact insulation helps you prioritise which windows to address first based on their size, orientation, and condition.
8. Install reflective foil behind radiators
Reflective foil behind radiators reflects heat back into the room rather than letting it conduct through the external wall. This is especially effective where radiators are mounted on external walls, which is common in older UK homes. Purpose-made radiator reflector panels are inexpensive and require no tools to fit. The improvement in room warmth is noticeable, particularly in rooms that have always felt cold despite the heating being on.
9. Use expanding foam for hard-to-reach gaps
Expanding polyurethane foam fills irregular gaps that caulk and weatherstripping cannot reach. Common applications include gaps around soil pipes, where cables enter the building, and around loft hatch frames. The foam expands to fill the void and sets hard, creating a permanent air seal. Trim any excess with a sharp knife once cured. Use low-expansion foam around window and door frames to avoid distorting the frame.
10. Insulate the loft hatch
The loft hatch is one of the most overlooked areas in any home insulation project. Many homeowners overlook secondary areas like attic hatches yet gain quick returns from these low-cost improvements. Glue rigid insulation board to the top of the hatch to the same depth as the surrounding loft insulation. Fit a draught-proof seal around the frame. This single task can be completed in under an hour and prevents a significant column of warm air from rising directly into the cold loft.
How to prioritise insulation improvements using an energy assessment
A professional energy assessment identifies the specific areas of your home losing the most heat, so you spend money where it counts. The assessment typically involves a visual inspection, thermal imaging, and a blower door test that measures air leakage across the whole building. The results tell you your current insulation levels, your approximate R-values, and the biggest sources of heat loss ranked by impact.
- Book a professional energy assessment. A qualified assessor will produce a report showing heat loss by area and recommend upgrades in order of return on investment.
- Measure existing insulation depth. In the loft, use a ruler. Less than 270mm of mineral wool means you are losing significant heat through the ceiling.
- Identify the biggest air leaks. Thermal imaging shows cold spots around windows, doors, and wall penetrations that are invisible to the naked eye.
- Consider your home’s age and construction. Solid-wall homes built before 1920 need specialist advice. Standard cavity wall techniques do not apply and can cause moisture problems.
- Prioritise loft before walls before floors. Heat rises, so the loft delivers the fastest return. Walls come second. Floors third, unless the floor is particularly cold or uninsulated.
- Combine air sealing with every insulation upgrade. A whole-house systems approach combining air sealing, insulation, moisture control, and ventilation delivers the best results.
A step-by-step guide to energy-efficient window upgrades can help you integrate window improvements into your wider assessment findings.
Comparing the best insulation materials for your home
Choosing the right material depends on where you are insulating, your budget, and whether you are doing the work yourself or hiring a professional. Installation quality trumps raw R-value in thermal performance. A perfectly fitted lower-grade material outperforms a poorly fitted premium one.
| Material | Best use | Approximate R-value per 25mm | DIY friendly | Relative cost |
|---|---|---|---|---|
| Mineral wool rolls | Loft, stud walls | 0.44 | Yes | Low |
| Fibreglass batts | Loft, floor joists | 0.43 | Yes | Low |
| Loose-fill cellulose | Cavity walls, loft top-up | 0.40 | Partial | Low to medium |
| Rigid foam boards | External walls, floors | 0.70–1.00 | Partial | Medium |
| Spray foam | Awkward gaps, roof rafters | 0.80–1.10 | No | High |
| Reflective foil | Behind radiators, roof spaces | Varies | Yes | Very low |
Mineral wool and fibreglass batts suit most DIY loft and floor projects. Rigid foam boards are the best choice for external wall insulation where space is limited. Spray foam delivers the highest R-value per millimetre but requires a professional installer and can complicate future mortgage valuations if misapplied in roof spaces. Loose-fill cellulose is an excellent, environmentally lower-impact option for topping up loft insulation or filling cavity walls.
Pro Tip: Not all insulation types suit every home area. Always check the manufacturer’s guidance for the specific application before purchasing.
Common mistakes that reduce insulation effectiveness
Poor insulation decisions waste money and can damage your home. Knowing what to avoid is as important as knowing what to do.
- Skipping air sealing. Adding thick insulation without sealing gaps first is the single most common mistake. Cold air bypasses the insulation and the thermal performance drops sharply.
- Ignoring secondary areas. Pipes, hot water cylinders, and loft hatches are frequently missed. These areas offer high returns with minimal effort.
- Installing insulation without addressing ventilation. Poor insulation and ventilation can cause moisture buildup, mould risk, and structural damage. Every sealed home needs controlled ventilation.
- Using double vapour barriers. Trapping moisture between two vapour barriers causes condensation and rot. Use one barrier on the warm side of the insulation only.
- Compressing insulation. Compressed mineral wool or fibreglass loses R-value rapidly. Always allow the material to fill the full cavity depth without being squashed.
- Assuming more is always better. Gaps or compressed fibres negate benefits regardless of material R-value. Coverage and fit matter more than thickness alone.
- Neglecting professional advice for older homes. Solid-wall or heritage homes need specialist guidance to avoid moisture entrapment and building damage.
For homes where windows are a known weak point, understanding why window seals matter helps you address that area as part of a wider insulation plan.
What 20 years of insulation work has taught us at Cloudy2Clear Windows
The homeowners who get the best results are the ones who treat insulation as a system, not a series of individual jobs. The most common mistake we see is spending money on new insulation material while leaving obvious air leaks untouched around window frames and door thresholds. The cold air simply finds another way in.
The quickest wins are almost always the cheapest ones. An insulating jacket on a hot water cylinder, foam strips around a draughty back door, reflective panels behind radiators on external walls. These tasks cost very little and pay back fast. Yet they are routinely skipped in favour of more visible projects.
Windows deserve more attention than most homeowners give them. A failed double glazing seal does not just look unsightly. It creates a cold spot that chills the room and drives up heating costs. Repairing the sealed unit is nearly always cheaper than replacing the whole window, and the insulating performance is fully restored.
My honest advice: get a professional energy assessment before spending anything significant. It removes the guesswork and tells you exactly where your money will have the greatest impact. Then work through the list methodically, starting with air sealing, moving to loft insulation, and addressing windows and walls as budget allows.
How Cloudy2Clear Windows can help with your insulation improvements
Windows are one of the most significant sources of heat loss in any home, and failed double glazing seals make the problem worse. Cloudy2Clear Windows has been repairing and replacing double glazed units across the UK since 2005, helping homeowners reduce draughts and improve thermal comfort without the cost of full window replacement.

Whether you have misted panes, failed seals, or windows that let in cold air, the Cloudy2Clear Windows team can assess and repair the problem quickly. Find your nearest specialist and book an inspection through the Milton Keynes double glazing repairs page, or check availability in your area across the full network of local branches. Addressing your windows alongside your wider insulation plan gives you a complete thermal envelope and a noticeably warmer home.
FAQ
What is the most effective way to improve home insulation?
Sealing air leaks before adding insulation is the most effective first step. Air sealing and insulation upgrades together can reduce heating and cooling costs by 15% to 20%.
How do I know if my home needs more insulation?
A professional energy assessment using thermal imaging identifies cold spots, air leaks, and areas where insulation is absent or insufficient. In the loft, less than 270mm of mineral wool is a clear sign more is needed.
What is the cheapest insulation improvement I can make?
Fitting draught-proofing strips around doors and windows costs very little and delivers an immediate improvement in warmth. Fitting an insulating jacket to a hot water cylinder saves approximately £40 per year.
Can I insulate my home myself or do I need a professional?
Loft insulation, draught-proofing, and hot water cylinder jackets are straightforward DIY tasks. Cavity wall injection, spray foam, and insulation in solid-wall or older homes require a professional to avoid moisture and structural problems.
Does repairing double glazing improve insulation?
Yes. A failed double glazing sealed unit loses its insulating gas fill and allows heat to conduct through the glass. Replacing the glass unit restores the original thermal performance and removes cold spots near windows.